Showing posts with label Food. Show all posts

Thursday, March 26, 2015

Cinnamon Life Muffins


Ready for some color? Tomoson and Sunsella have sent me 12 silicone baking cups for FREE to review. As many of you know I am a baker, and as much as I love fun paper baking cups, if I'm just baking for me and my family I feel bad throwing all that paper away. So, the idea of having these great cups caught my attention quickly.


My kids loved the bright colors and the best part is that 1) it didn't affect the baking time at all and 2) they just popped right off the bottom of the muffins without breaking them and I didn't have to use any non-stick cooking spray. They were simple to clean and I totally wish I would have had a set of these when my kids were little because they would be the perfect little snack bowls...

Regardless they are amazing. My kids loved them so much that they asked me to buy a set for their Grandma for her birthday next week.  So shhh, don't tell :)

There is a link to amazon at the bottom as well as a 20% off coupon code!

Be sure to check out the Sunsella website for FREE recipes and see what other fun and colorful products they have for you!

Cinnamon Life Muffins

3/4 cup oats
1/2 cup Cinnamon Life cereal
3/4 cup boiling water
1/4 cup granulated sugar
1/4 cup packed brown sugar
1/4 cup butter, melted
1 egg beaten
2 Tablespoons ground flax seed
1 1/4 cups bread flour
1 1/4 teaspoons baking soda
1/4 teaspoon kosher salt
3/4 cup whole milk


Place oats and cereal in a large mixing bowl; cover with boiling water and let stand for 5 minutes. Stir in the sugar, brown sugar, butter, eggs, and flax seed. Mix well.


Combine the flour, baking soda and salt; stir into the oat mixture alternating with the milk until moistened.


Fill your Sunsella silicone muffin cups using a large cookie scoop until 2/3 full.  


Bake in a preheated 375 F oven for 18-20 minutes until the tops are lightly starting to brown and a toothpick inserted in the center comes out clean. 


 Cool for 2-3 minutes and then remove to a cooling rack to cool completely.


I love these silicone liners because they just pop right off the bottom. No need for non-stick spray, and no paper to peel off!


Yum!


20% off coupon code 'JJORSB8D'

Saturday, March 7, 2015

Truffala Tree Cookie Pops


Usually I'm much more prepared for Dr. Suess's birthday and do fun activities with my boys, but I didn't realize what day it was until it was already here this time! Yikes.

So I thought I would make something from Dr. Suess that could still be used for later... Truffala Tree Cookie Pops! They are fun. They are green, maybe a St. Patrick's Day treat... And they are little trees so perfect for Earth Day! 

Tomoson and Bake it Fun sent me two fabulous silicone baking mats for FREE to review. I was excited to try them out for these cookie pops because you don't really want them browned, just cooked through. The mats worked perfectly. The cookies didn't stick, they weren't overcooked, and they turned out great! The only piece of advice I would give about using the mat is to plan on a few extra minutes or so per batch to cook completely. It is worth the wait! I will be using my baking mats in lieu of parchment paper over and over again. I love them. And I can't wait to try another recipe with them.


Truffala Tree Cookie Pops

1/2 cup butter, softened
1/2 cup shortening
1 1/2 cup powdered sugar
1 egg
1/2 tsp vanilla extract
1/4 tsp almond extract
2 Tbsp whole milk
2 1/2 cup flour
1/2 tsp baking powder
1/2 tsp kosher salt
3 drops yellow food coloring
6 drops green food coloring
Sugar Sprinkles
Cake pop sticks

In a large bowl or Kitchen Aid, cream the butter, shortening, and sugar. 


Beat in the egg, vanilla, almond extract, and milk.  Mix well. 


In a separate bowl combine the flour, baking powder and salt. Add the flour to the creamed mixture in three additions. Mixing until the dough is even and all the flour is incorporated.


Divide the dough in half. 


Tint one portion with the yellow and green food coloring to make a light mint green. Add more if desired.  Mix with the mixer until the dough is a nice even color. Wrap each half of the dough in plastic wrap and refrigerate for 4 hours or overnight.


Roll out 1/2 of the dough onto a lightly floured sheet of parchment paper on a flat surface until about 1/4" thick.  Set aside. Repeat with the colored dough rolling out to roughly the same size. 


 Place one prepared dough over the other and line up as close as you can. Lightly dust with flour and roll out gently until both layers of the dough is about 1/4" thick. Using the parchment paper to help you roll the dough into a tight log.


Press the seams together and flatten the edges.  Roll the log in the parchment paper and refrigerate for at least 30 minutes. Preheat oven to 350 F.


Remove the cookie dough from the refrigerator and slice in generous 1/4" slices. 


Place 12 slices on a cookie sheet lined with a Bake it Fun silicone mat or parchment paper. 


Slide a cake pop stick from the bottom into the center of each cookie and align on the mat. Sprinkle with sugar sprinkles, I used a mint green and they added a fun sparkle to the cookies. 


 Bake for 8-11 minutes until the cookies just start to brown. With the mat it will be closer to 11-12 minutes.  


Remove from the oven and let cool on the pan for 2 minutes, then remove to a cooling rack to cool completely.


I found cute little Easter cups and filled them up with beans. Rice would work just as well. Then you can stick the cookie pops in and they will stand up on their own. Add a little bow and you have a fun gift or treat for Earth Day!

(I couldn't find good lighting with the cookie pops standing up so I laid them down for the picture...)


Happy Eating and Happy Reading!

Saturday, January 31, 2015

Reese's Peanut Butter Chocolate Cookies

I am an Influenster Blogger and as one of my FREE products I received a jar of Reese's new Peanut Butter Chocolate spread.  If you love peanut butter, then you will love this spread.  It is great as a spread on bread/toast or as a dip.  My jar quickly disappeared, and in fact when I went to make these cookies there wasn't enough so I had to improvise by using some regular peanut butter too! Silly kids ate it all :) Anyway, I guess I will have to go buy more.

Reese's Peanut Butter Chocolate Cookies

Reese's Peanut Butter Chocolate Cookies

1/2 cup butter, softened
3/4 cup Reese's Peanut Butter Chocolate spread (or 1/2 peanut butter, 1/2 spread)
1/2 cup granulated sugar
1/2 cup dark brown sugar
1 egg
1 tsp vanilla extract
1/2 tsp kosher salt
1/2 tsp baking soda
1 3/4 cup flour

Preheat oven to 350 F. Cream the butter, peanut butter chocolate spread, sugar, and brown sugar for 2-3 minutes.  Add the egg and vanilla and beat well until the mixture is light and fluffy.  In a separate bowl combine the flour, salt, and soda.  


*Note: I went to make these cookies and realized I didn't have enough spread... I had to use 1/2 regular peanut butter and 1/2 of the peanut butter chocolate spread. 


In two additions add the dry ingredients to the sugar mixture and stir just until the flour is fully incorporated.  Use a medium scoop to transfer the cookie dough onto an baking sheet lined with parchment paper. Use the bottom of a glass or two forks to flatten the cookies.


Bake for 8-10 minutes until set and the bottom is brown.  


Let cookies cool on the pan 2-3 minutes and then transfer to a cooling rack.


Peanut Butter Fans watch out!

Monday, December 8, 2014

8th Day of Bloggy Christmas

On the 8th Day of Bloggy Christmas Miss Krista from A Handful of Everything gave to me,

Grandma Sue's Famous Sugar Cookies!

Sugar Cookies


Brought to you by:

  The Ruffled Stitch  photo button_zps47f31b59.jpg

Good morning! It's Krista again from A Handful of Everything. Today I am sharing with you one of my family's absolute favorite recipes. This is yet another fabulous recipe given to me by my Mother-in-law Sue.  My kids love these cookies and we make them several times a year but they are a tradition to make every Christmas.

These soft and fluffy old fashioned cookies are so good you can't just eat one.  These are great sprinkled with colored sugars or my favorite homemade buttercream frosting! Regardless what you put on top of these they are sure to please.

Ingredients:
4 cups flour
1 tsp baking powder
1/2 tsp salt
1/2 cup butter, softened
1/2 cup shortening
1 tsp vanilla
1 1/4 cup sugar
1 tsp baking soda
2 eggs, beaten
1/3 cup milk

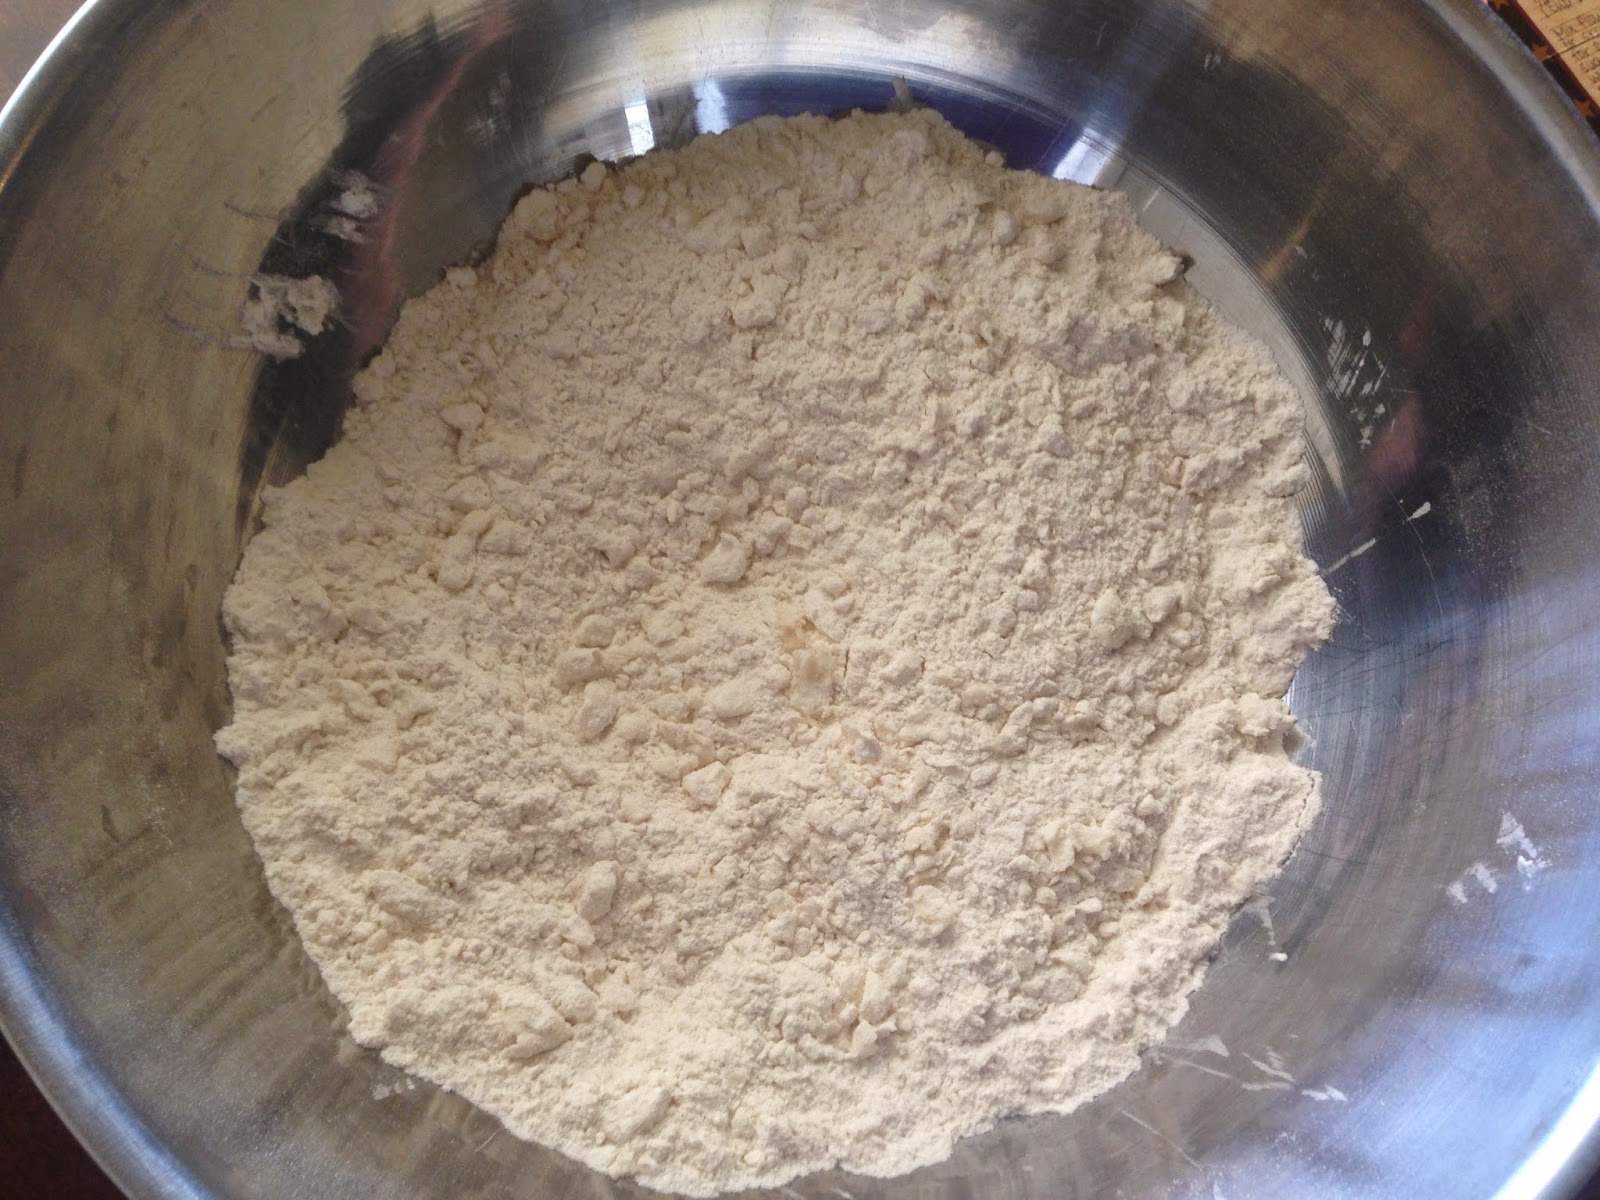
In a large bowl combine the flour, baking powder, and salt.  

Sugar Cookies

With a pastry blender, cut in the butter and shortening as you would for pie crust until the mixture is a coarse meal.  The temperature of the butter when you make these cookies is really important.  If you use cold butter your cookies will taste like pie dough, really flat and flaky.  You want light and fluffy.  Don't use melted butter, you want nice soft room temperature butter and shortening.

Sugar Cookies

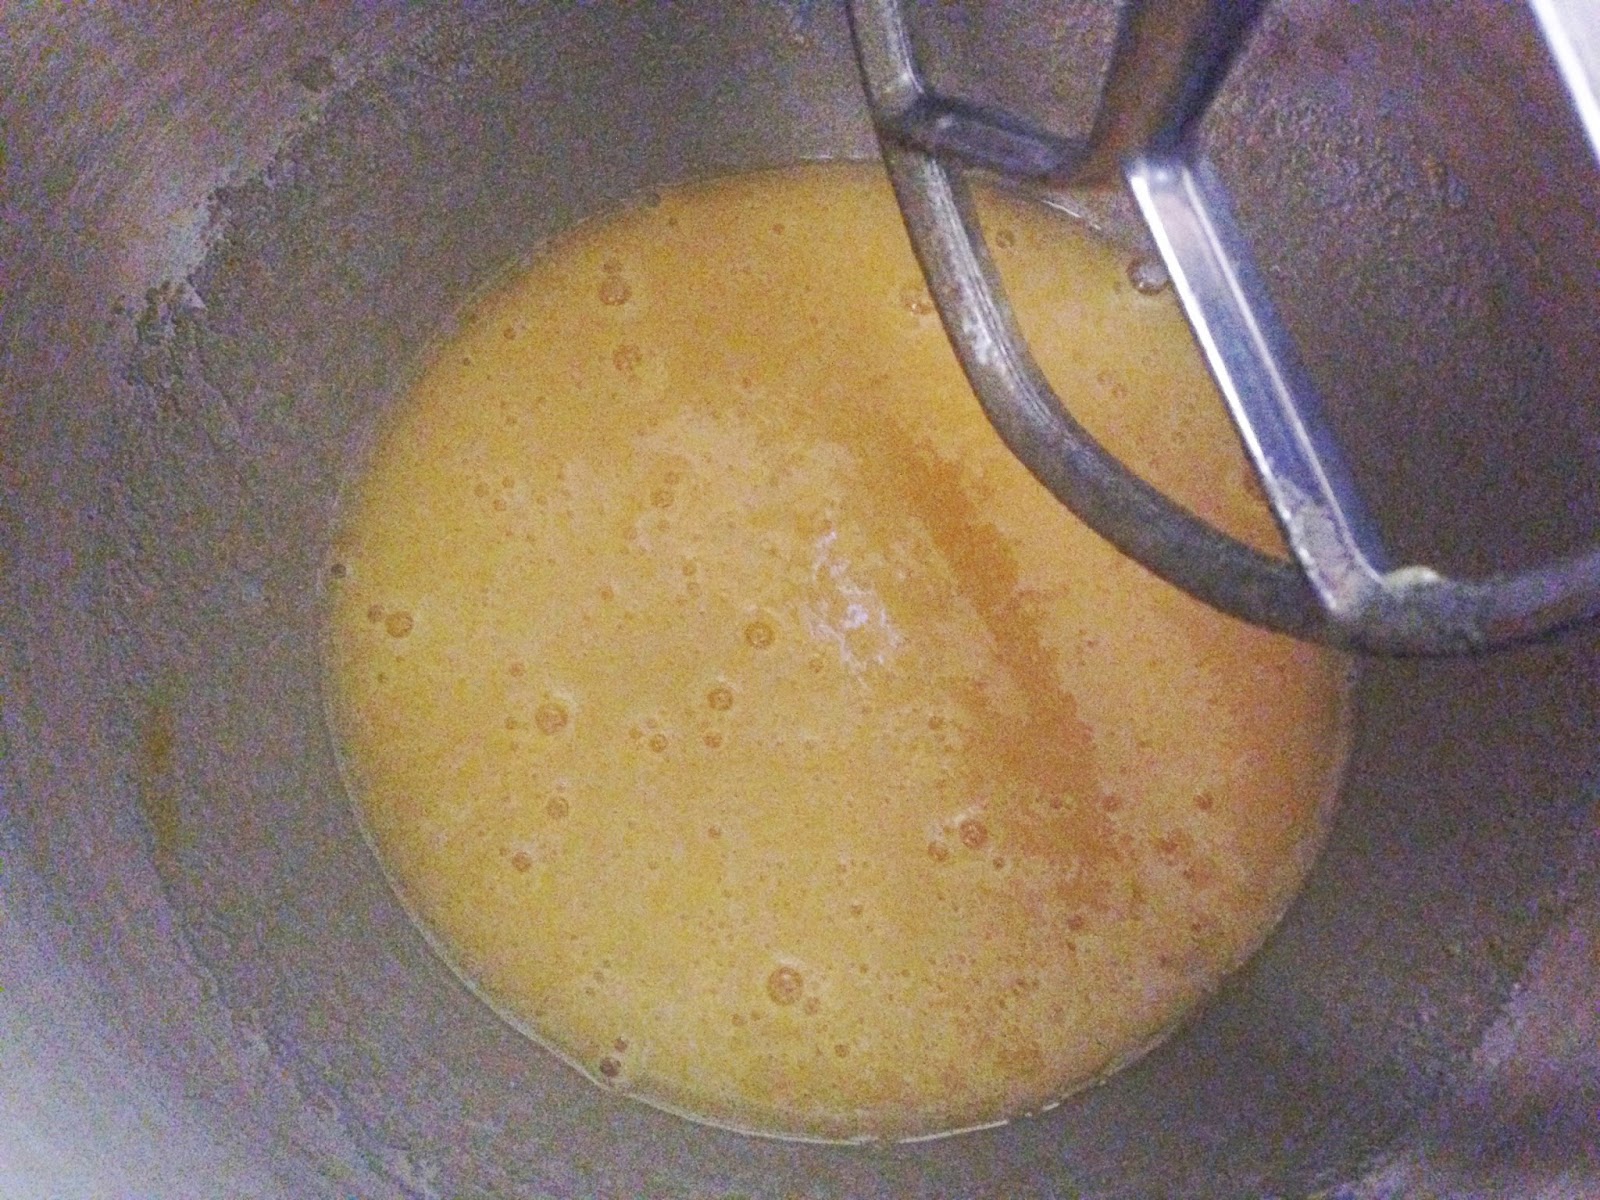
In a separate bowl (Kitchen Aid) mix the sugar, vanilla, baking soda, eggs, and milk.  Mix until combined well.  

Sugar Cookies
Add the flour mixture to the sugar mixture in three batches a little at a time on low speed, mixing just until combined and all the flour is incorporated into the dough.

Sugar Cookies

Chill the dough for an hour.

Sugar Cookies

Roll out to 1/8-1/4" inch thickness.  It's better to air on the side of too thick than too thin and just bake a little longer.  Cut with favorite cookie cutters.  Arrange 2" apart on a baking sheet.

Sugar Cookies

Sugar Cookies

Bake at 375 F for 7-10 minutes or until the tops are evenly puffed and the bottoms are just bearly starting to brown. Allow to cool for 1-2 minutes on the pan, then remove to a cooling rack to finish cooling completely.

Sugar Cookies

Sugar Cookies
Frost with your favorite icing or my homemade buttercream, and enjoy!

Sugar Cookies

Print Friendly

Related Posts Plugin for WordPress, Blogger...