Thursday, June 13, 2013

Cheerios and Lattes Guest Post

I am so excited this morning to have a guest post on the amazing blog cherriosandlattes.com.  It is such an wonderful opportunity to share my work on such a fabulous blog!  Thank you Miss Mackenzie!!!

I hope ya'll go and check it out :)


Baked Blueberry Donuts

My little guy cracks me up.  He can be so picky about his food but he can be really sweet too.  Every morning we have to check online what the weather is going to be and what Lunch will be at school.  If he doesn’t like what’s for lunch then I “have to pack lunch.” Today he wanted school lunch but he had an idea.  “Mom, how ‘bout we take in one of your great recipes to the cafeteria and they can make it!”  Well son, I don’t think it works that way but you are sweet.

We have started summer swim lessons and I was surprised that my little one was awake and my big one slept in.  I thought for sure I’d have to wake them both up for school. But nope there he was bright eyed and busy tailed and ready to go.  He quickly let me know he was going to help me make breakfast!  My boys love when I make donuts and one of my little guy’s other favorite breakfasts is the blueberry muffins from the bag.  Yes I know he is crazy muffins are so much better homemade but that’s what he likes!  So he wanted me to make blueberry donuts.  He went right over and grabbed my Sunbeam Donut Maker and looked at me expectantly.  So here we go!

Continue reading my post for Baked Blueberry Donuts @ Cheeriosandlattes.com!


Strawberry-Raspberry Turnovers

I love participation in fun Recipe Challenges and Blog Hops.  This month for the Behind the Curtain Recipe Challenge our Ingredients were Strawberries and Raspberries.  There are so many different ways that you could use these amazing ingredients, but I have really been wanting to try making my own turnovers.  Check number one off my baking bucket list! I have been buying so many fresh berries lately and freezing some along the way, so I pulled some out of the freezer to make this recipe although you could just as easily use fresh fruit.  I hope you love them :)


Print Recipe

Behind the Curtain Recipe Challenge: Strawberry-Raspberry Turnovers


Filling
1/4 cup granulated sugar
1 Tbsp corn starch
3/4 cup cold water
1 cup finely chopped fruit (1/2 cup raspberries, 1/2 cup strawberries)
2 Tbsp fresh squeezed lemon juice
1/8 tsp vanilla extract
1/8 tsp almond extract

Grated dark chocolate *optional
2 sheets puffed pastry, thawed

Glaze
1 cup powdered sugar
1 Tbsp milk

Heat the oven to 400˚ F. Wash and prepare the fruit.    


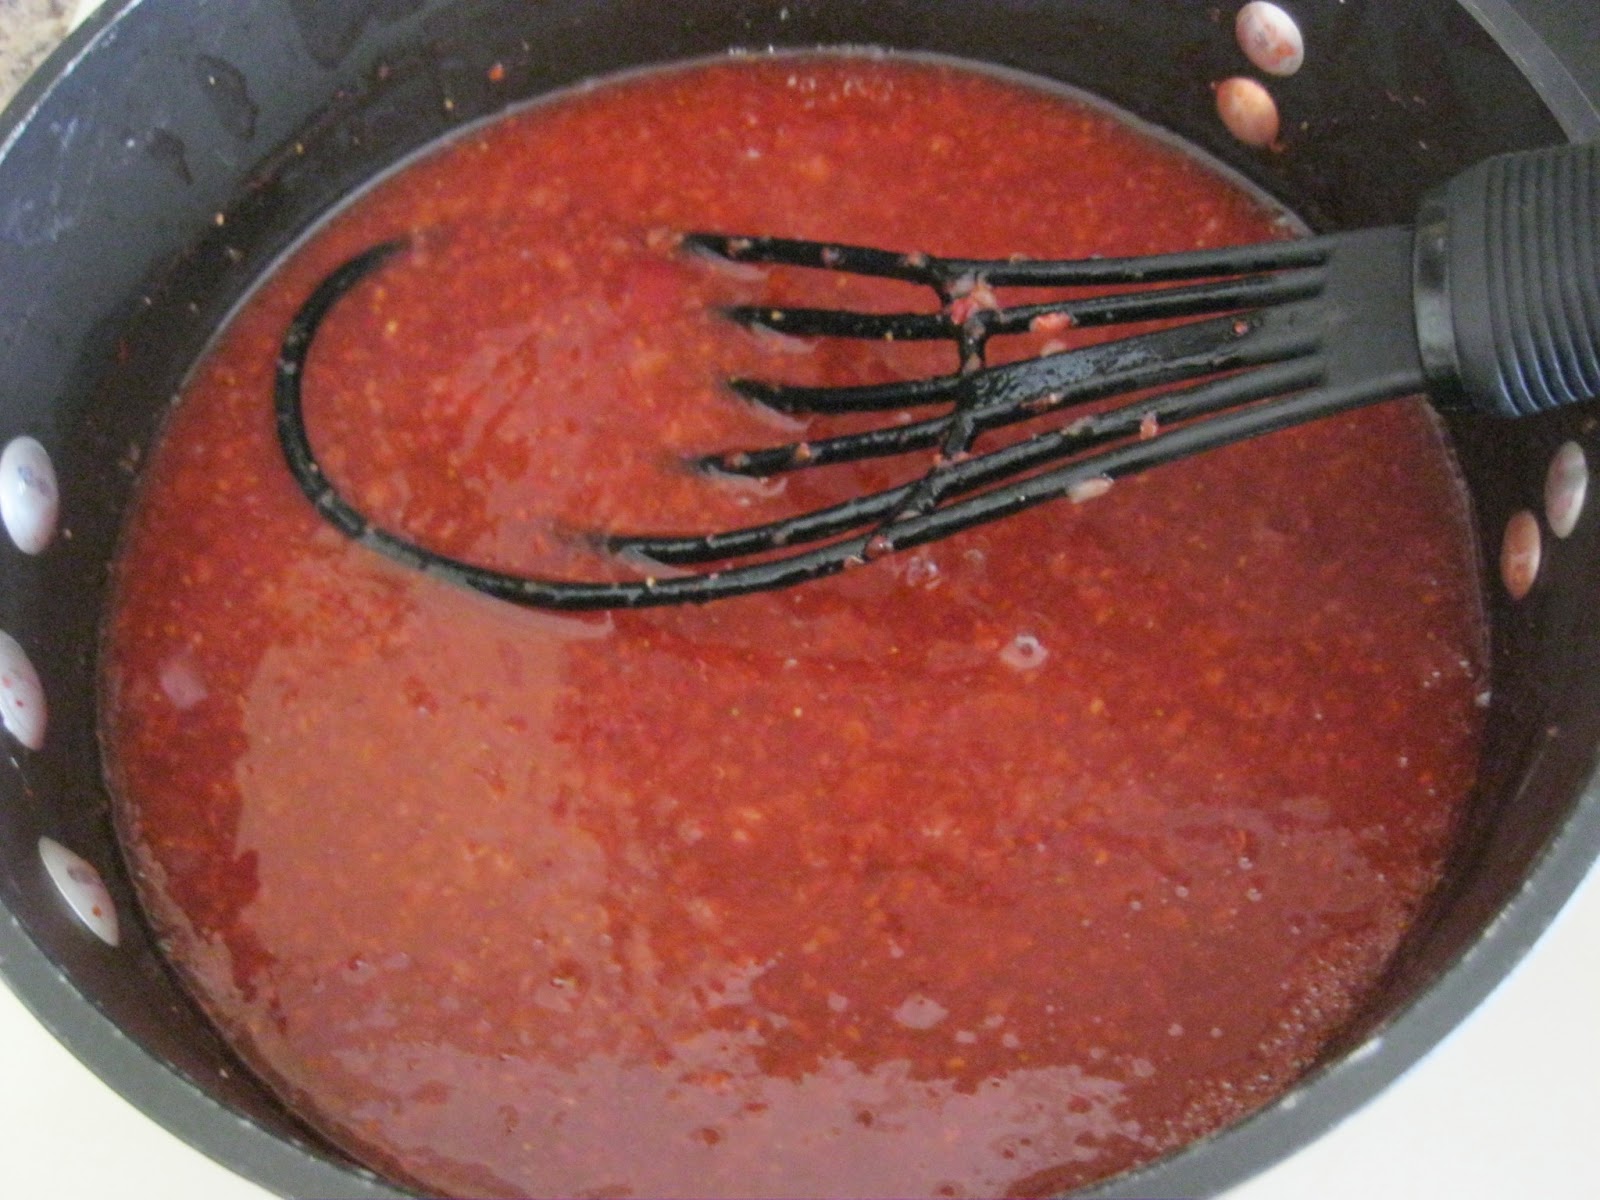
In a heavy bottom sauce pan combine the sugar and cornstarch.  Whisk in the cold water.  


Bring the sugar mixture to a boil over medium heat stirring constantly.  


 When the mixture is thick and bubbling add the fruit and cook for an additional minute.  


Remove the filling from the heat, add in the lemon juice and extracts.  Stir to combine.  


I transferred my filling to another bowl to cool because you won't use it all in the turnovers.  (Leftover filling makes a fabulous topping for ice cream or cheesecake.)


Lightly flour a flat working surface. Unwrap and unfold one sheet of puffed pastry and roll out according to the directions on the package.  Then using a sharp knife cut as desired:

-If you want to make rectangle Turnovers: roll out 1 sheet then cut into thirds and then in half (6 rectangles).   Spoon 1 Tbsp filling into the center of each rectangle, carefully fold over the dough and seal with a fork. Repeat with the other sheet of dough.  or

-If you want to make triangle Turnovers: roll out 1 sheet cut into thirds into thirds again (9 squares). Spoon 1 tsp filling in the center of each square.  Fold the dough in half making triangle and then seal the edges with a fork. Repeat with the other sheet of dough.


Transfer the dough bundles to baking sheets lined with parchment paper. 


Bake at 400˚ F for 15-20 minutes or until puffed and golden brown.  


 Remove from the pan to a cooling rack.  In a bowl combine the powdered sugar and milk until it is a nice drizzling consistency, adding more milk if desired.  


Once the turnovers have cooled, spoon the glaze over each turnover. 


If desired, grate some beautiful dark chocolate over the top for garnish.


Makes 12 rectangles, or 18 triangle turnovers

Wednesday, June 12, 2013

Great Idea Thursday's - 10

Welcome to:


Thank you so much for joining me for Great Idea Thursday's! If I haven't commented on your post yet, I'm working on it I promise.  School Awards assemblies and parties and field days have been keeping me hopping yikes, school is almost out! I'm coming I promise :) Are you ready to have your kids home all day? Maybe you are a homeschooler and already have them home all day or don't have kids at home.  I'm sure you are looking forward to fun in the sun regardless! What fun things do you have planned?

Most Viewed


Featured Craft


Featured Recipes


I have been wanting to make Lumpia for such a long time! I was so excited to have this linked up!!! Yeah, I'm gonna make it :)


Featured Sweet


Grab a Featured Button!

Grab button for Featured on A Handful of Everything
<div class="A Handful of Everything-button" style="width: 150px; margin: 0 auto;"> <a href=" http://ahandfulofeverything.blogspot.com " target="_blank"> <img src=" http://i1296.photobucket.com/albums/ag13/Krista_Low/1d9ab56d-55ab-4989-8038-5e5a5124ac65_zps8f0806cb.jpg" border="0" alt=" photo 1d9ab56d-55ab-4989-8038-5e5a5124ac65_zps8f0806cb.jpg" alt="A Handful of Everything" width="150" height="150" /> </a> </div>

Great Idea Thursday's #9

Come share what you have been doing every week! If you are interested in Co-Hosting this party shoot me an e-mail me  @ kristascookin@gmail.com.

Grab button for A Handful of Everything
<div class="A Handful of Everything-button" style="width: 150px; margin: 0 auto;"> <a href="http://ahandfulofeverything.blogspot.com/" target="_blank"> <img src=" http://i1296.photobucket.com/albums/ag13/Krista_Low/2d59056e-a962-4a79-bbef-b7f05a43dea9_zps94a044c8.jpg" border="0" alt=" photo 2d59056e-a962-4a79-bbef-b7f05a43dea9_zps94a044c8.jpg " alt="A Handful of Everything" width="150" height="150" /> </a> </div>

 photo twitter_zps88bd9661.png  photo pinterest_zps8e7192c4.png  photo facebook_zps7e73c851.png  photo tumblr_zpsb1a1b368.png  photo googleplus_zpsc749eee2.png  photo bloglovin_zps7b8b0a10.png  photo rss_zps9bbb2bef.png
  • Please follow me
  • Please link directly to your post not your home page.
  • Share the love - please visit and comment on at least 2 other posts.  Everyone loves comments :)
  • Grab a Button or text link back to A Handful of Everything
  • Thank you for stopping by to Party! Have Fun!
This is what I made this week: Water Bottle Holder Kids Craft


Water-Bottle Holder Kids Craft

I wish I could take credit for this fabulous craft but I cannot.  Another one of our fabulous Den leaders for our Cub-Scout Pack came up with this fabulous idea.  It was one of my two boys's favorite activities, and since it was 90˚F+ the day we made these, it was perfect! This was a really great craft to do with the boys, it was functional, creative, and easy to do with a group.

Water-Bottle Holder Kids Craft 

Supply List:
Kite String or other cording
1 1/4" Rubber O-ring
Pony Beads
Scissors
Lighter

To make the Water-Bottle necklace holder cut the Kite string into 36" lengths with the scissors.  Use a lighter to seal the ends.

We found that it was so much easier to thread the beads when we sealed the edges with a lighter.  You don't have to, but the string kept unraveling and we kept cutting and cutting off more ends for kids to easily thread the beads.  Once we used the lighter on the ends we didn't have any more problems.

Fold the kite string in half so the two ends of the string are in one hand and the folded end is in the other hand.

Insert the folded end of the string through the O-ring making a loop, then send the two ends through the loop and pull the string tight.  Once the O-ring is attached use the pony beads to decorate the necklace.  Once the necklace is decorated tie the ends with two overhand knots or a square knot.  Slip the O-ring over the top of the water bottle and you are done!


Monday, June 10, 2013

Guest Post: Peanut Butter Banana Smoothie

Good Morning!

I am so excited to share with you a post from a Guest Blogger! Meet Miss Heather from Notes from the Neslens! She is super sweet person and has an amazing blog.  You'll notice her button over on the left in my sponsors! Yup, she's pretty awesome!  Let's give her a big welcome and check out one of her favorite childhood recipes!

Guest Post: 

Hi friends! I'm Heather, and I blog over at Notes from the Nelsens. I'm an elementary school teacher who loves Jesus, cooking, laughing, coffee, tennis, traveling, book stores, and date nights with my hubby- especially when those date nights involve any or all of the above things.


Like this one- a date-night cooking class at the Viking School.


Or this one that ended at Barnes & Noble.
This is Matt, by they way. :)

We met in high school,


dated through college,


and got married 5 months after we graduating from Furman and Clemson - GO TIGERS!!!


We've been married for 5 1/2 years now and together for almost 12!


I started blogging a little over two years ago when we bought and renovated our first house. We imagined buying a move-in-ready house for our first home but ended up doing quite the opposite... we gutted the entire thing and lived with Matt's parents for 5 months while our house was under construction. You can see the before and after pictures here. It's come a long way since we bought it nearly three years ago, but we still have some to-do list items to tackle.

Apart from house and yard projects, we love to travel. Road trips, plane trips, or a quick one night away, we love getting to see new places and make memories just the two us before we start a family.


One of our favorite trips was a Mediterranean Cruise we went on last summer. You can read about our other travels here.

Apart from traveling, one of my other loves is cooking! Today, I'm going to share a recipe with you that I've been making since I was a kid. If you're interested, you can see all of my other recipes here.

Peanut Butter Banana Smoothie:

My mom used to make this for me as a kid. She would always put an extra scoop of peanut butter at the bottom and tell me to make sure I ate the whole thing. She wanted to fatten me up and get me all the protein she could since I was such a picky eater. ;) This is also one of the first things I remember making "all by myself" as a kid, and I've been making it ever since! It's the perfect snack that can really serve as a meal if you need it to. Hope you enjoy it as much as I do!


Ingredients:
1 banana (spotted is the best so it's sweet!)
2T peanut butter
1T honey or agave nectar
1/2 tsp pure vanilla extract
1/2 cup milk or almond milk
handful of ice cubes

optional: add fresh blueberries, strawberries, and a scoop of greek yogurt for extra protein!

Directions:
Blend and enjoy!


Thanks, Krista, for letting me share a little bit of our world with your readers! And thanks to you for taking the time to get to know us a little bit! I'd love it if you'd stop by our blog and say hello sometime. Here are the other places you can find me:
Facebook
Email: notesftn@gmail.com

Have a wonderful week!

Look for me linking up @ these great Parties!

Print Friendly

Related Posts Plugin for WordPress, Blogger...