Showing posts with label Craft. Show all posts

Monday, March 3, 2014

Quick and Easy DIY Bookmarks


Quick and Easy DIY Bookmarks 3 Ways

Scrapbook Paper
Camo Duck Tape
Leftover Valentines
Stickers
Packing Tape or laminator
Rotary Cutter
Scissors
Old credit card or store reward card (optional)


As I sat down to read with my son the other day I had to laugh at the bookmark he was using.  My boys can be very inventive with what they use as bookmarks. I've seen pencils, crayons, money, pokemon cards, tissues, and apparently itty bitty shreds of paper. I finally had the "Here's your sign moment" when I sat down this night. Apparently my kids need some more bookmarks. So, we sat down and whipped up a bunch using some leftover valentine's, some new duck tape, and some stickers.  The verdict: bookmark success!

#1 Valentines:


Collect a few sheets of scrapbook paper that match your valentines.


Cut the scrapbook paper down to 1 7/8" x 6" strips.


Line up the valentine on the strip of coordinating scrapbook paper.  Using a strip of 2" packing tape, attach the valentine to the paper.  Cut the tape so it will extend past the edges on both sides.


Flip the bookmark over and cut another piece of tape.


Line up the two pieces of tape and press flat.  Use a credit card or store card to get out any air bubbles in the tape.


Leave about 1/8" space on either end of the bookmark and cut off the remaining tape.


Voila! Quick and easy Valentine Bookmark.


#2 Stickers: 

In one of my son's book orders we were given a whole package of Minion stickers.  My son loves these cute little yellow guys.  So, I used one of my pre-cut 1 7/8" x 6" strips of scrapbook paper and decorated it with Minion stickers.  Then following the same steps above cover each side with 2" packing tape.  


Use a credit card or store card to press out any air bubbles and to make a tight seam at the edges.


Use your trimmer to cut each end down to 1/8" of tape.


So easy and so cute!


#3 Duck Tape:

This is the easiest bookmark to make.
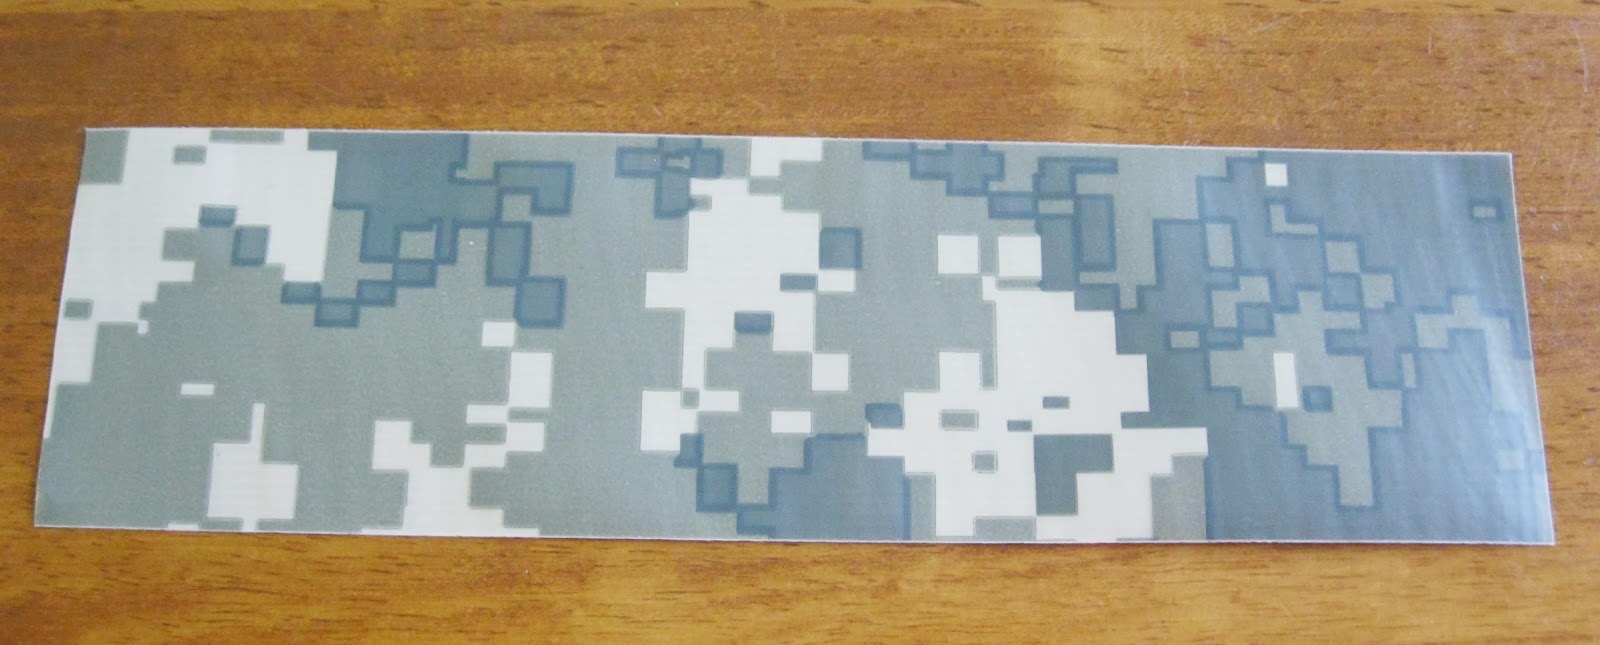

Cut a piece of tape about 7" long or so.


Then cut another piece of tape the same length.


Flip one of the strips over.


Line up the edges and press together.


Use a credit card or store card to press out any air bubbles.


Trim down the strip to the size you want. 6" - 6 1/2" is a good length.


Done!


Monday, December 2, 2013

Sharing is Caring Blog Hop: Christmas Edition


Scrapbook Paper Angel Ornaments

I was looking online for an angel template I could use to make some angels that could be used as Christmas Tree ornaments as well as gift tags.  I saw some that would have worked but they were too big or too small and I just wasn't seeing anything that really jumped out at me. So, when all else fails make your own!

I dug through my cookie cutters and found one I liked, for the most part, and traced it.  Then I played around and adjusted it until I liked the outline.  I cut that out and traced the outline out onto a manilla folder and cut that out. I wanted a sturdy template to trace since I was making 30 of them.  Yeah!!! I now have a template to make my angels!  I think they turned out cute, I hope you like them too :)

Supplies:
1 file folder
scissors
pencil/marker
Scrapbook paper
Silver Tinsel Craft cord (or any color you want)
Small hole punch
Angel Template

Print out the template for the angel.  


Cut it out and trace it onto thick paper like a file folder.  Cut out your template.  Trace the angel onto your favorite scrapbook paper. Trace on the back of your paper so your cute angels don't have pencil/marker lines on them. I was able to cut through about 3 or 4 pages thick without any problem.  


Cut out the angels.  In the very top of each angel use a small hole punch to make a hole.  Cut the tinsel craft cord into 6"-10" sections.  I am using the angels for ornaments and gift tags so I didn't want a really long string, I used 6" lengths.  If using for just for ornaments you may want to make longer strings.

Thread each angel with the craft cord and tie in a simple knot.  


Voila! A cute, fun, and easy scrapbook paper angel to use as a gift tag or as an ornament for the Tree!


This post is part of the Sharing is Caring Christmas Blog Hop hosted by Life With Lovebugs,  Powerful Mothering and Pam’s Party & Practical Tips!
All of the blogs listed below are sharing Christmas themed posts as part of this event, so click on one or all of the links below to find some great recipes, tutorials, crafts and more!

Wednesday, June 12, 2013

Water-Bottle Holder Kids Craft

I wish I could take credit for this fabulous craft but I cannot.  Another one of our fabulous Den leaders for our Cub-Scout Pack came up with this fabulous idea.  It was one of my two boys's favorite activities, and since it was 90˚F+ the day we made these, it was perfect! This was a really great craft to do with the boys, it was functional, creative, and easy to do with a group.

Water-Bottle Holder Kids Craft 

Supply List:
Kite String or other cording
1 1/4" Rubber O-ring
Pony Beads
Scissors
Lighter

To make the Water-Bottle necklace holder cut the Kite string into 36" lengths with the scissors.  Use a lighter to seal the ends.

We found that it was so much easier to thread the beads when we sealed the edges with a lighter.  You don't have to, but the string kept unraveling and we kept cutting and cutting off more ends for kids to easily thread the beads.  Once we used the lighter on the ends we didn't have any more problems.

Fold the kite string in half so the two ends of the string are in one hand and the folded end is in the other hand.

Insert the folded end of the string through the O-ring making a loop, then send the two ends through the loop and pull the string tight.  Once the O-ring is attached use the pony beads to decorate the necklace.  Once the necklace is decorated tie the ends with two overhand knots or a square knot.  Slip the O-ring over the top of the water bottle and you are done!


Print Friendly

Related Posts Plugin for WordPress, Blogger...